- White, bright, and fairly traditional, or at least timeless. I don't want to hate this space in 10 years. I want the minor details (knobs, paint, decor, lighting) to be easily changeable for an updated look; I want the major stuff (cabinets, countertop, sink, appliances) to stay fresh and attractive for a looooong time. I looked at old home magazines (10-15 years old) and found kitchens that had escaped looking dated; they were all white with Shaker-style cabinetry.
- Lots of storage. Lots of drawers. I want this kitchen to use every inch of available space for storage; thus, the choice of white. (Also, I avoided open shelving. I know it's cute and all the rage right now, but it doesn't feel timeless to me, nor does it seem to use space wisely in a room where space is at a premium. I can incorporate shelving in other ways.) Not only is the white timeless, in my opinion, but it will offset the to-the-ceiling wall cabinets and help to prevent them from looming. I have two windows that face west and south, so natural light isn't a problem.
- So. Many. Outlets. (We had one outlet. Only one side worked.)
- So. Many. Lights. (I had one circular fluorescent light set in the middle of the ceiling. This is dangerous when you are near-sighted and have to cut vegetables in the dark. We live in Illinois, people! Winter is long! I need light.)
- Features that made sense. Did you know that to turn on our one kitchen light we had to walk all the way to the end of the kitchen, reach behind the side of the fridge, and grope for a switch that was inexplicable placed there? Did you know only one section of one wall had cabinets? A lot about our kitchen never made sense to me, and sense and order are next to Godliness in my book.
- A black-and-white floor. I have wanted one since high school. I figured that if a burning desire for a specific type of kitchen floor was going to hang onto my housing-lust center of my brain for this long, I should probably give in.
- An apron-front farmhouse sink. We're skipping a dishwasher, so I also needed my dream sink to have two basins.
Thanks for bearing with me on that list. It helps me get my thoughts in order sometimes, too. Plus this is my blog and you are choosing to read it. I figure that you're just asking for this sort of thing.
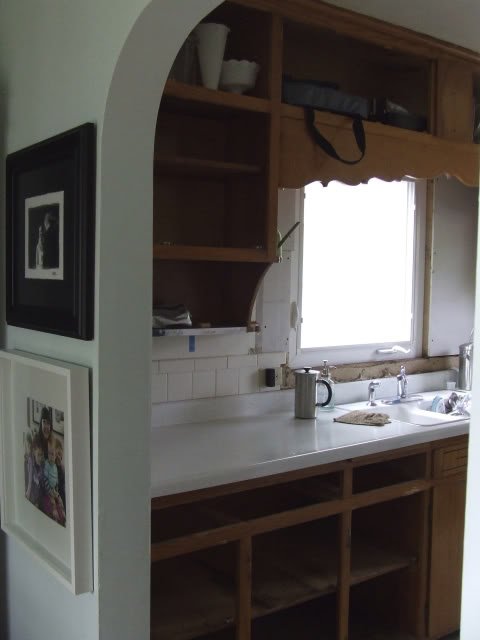
So! In May we started demo-ing very quietly and slowly, one door at a time. It felt like a small rebellion, but really it was because I was desperate to do SOMETHING, ANYTHING to make our kitchen move along. I bought the cabinetry in March while Ikea was still doing its spring kitchen sale (I'll talk about our choice of cabinetry in another post), so all those 5,000 boxes, give or take a thousand, had been sitting in my garage for weeks, openly mocking me. We had a timeline, and I was anxious to push it up. So I started pulling off doors...
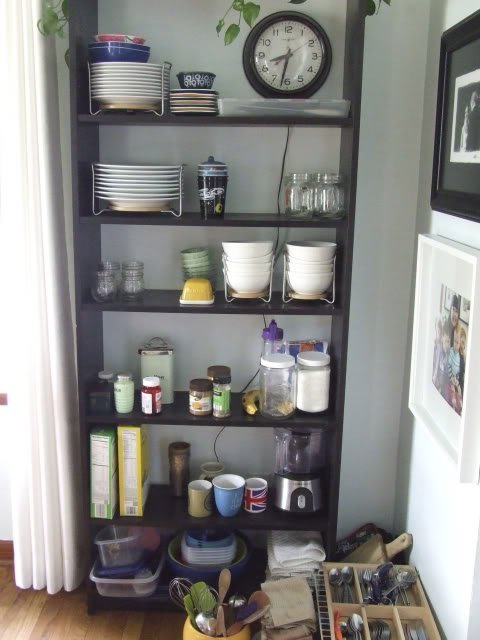
…which meant that I had to shift our kitchen to about four different parts of the house, including a large portion of our dining room. Since we have bookshelves that house a lot of our books in our dining room, those books had to be moved to the sunroom. Kitchen stuff also went in the sunroom. And the basement. It was madness and chaos, and it's still presenting a challenge to put back together.
My poor husband was going crazy with the mess in the sunroom, where he has his desk and was attempting to finish his dissertation.
This normally houses books, which are seen stacked in the above photo:
Rookie mistake: Putting your mostly-used kitchen items right next to the doorway of the kitchen…because: Plaster.
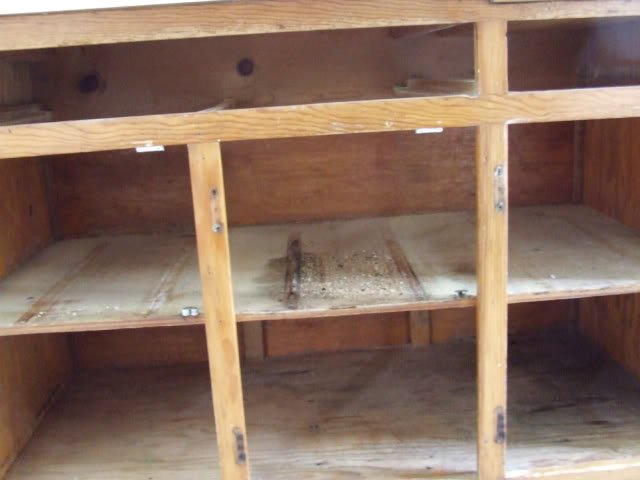
When the time was right, my husband started ripping up the rest of the kitchen. Here is a beautiful view inside my cupboards. All that dust is actually sawdust because, you see, they were slowly grinding themselves apart.
He got great satisfaction from ripping off the wall cabinets. Here's a shot from early in the demo process:
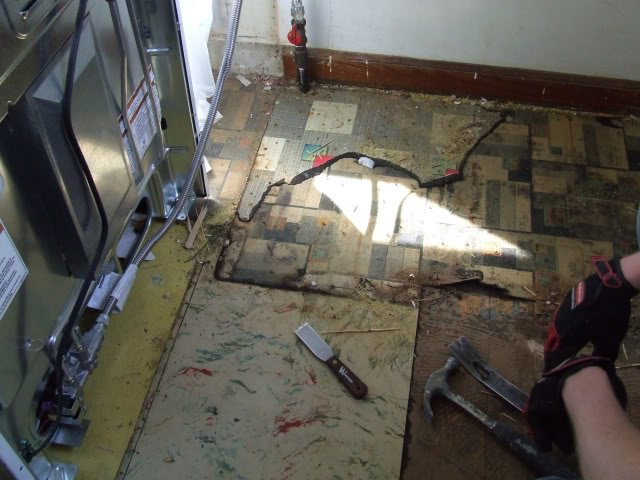
Once the room was cleared, it was time to tackle pulling up the floor. You might recall that we had crappy peel-and-stick vinyl flooring that had long since given up the will to stick. We knew we were going to be dealing with multiple layers of flooring; we just didn't know quite how many or how much asbestos-based backing was involved. Pulling it all up represented a couple of days of sweaty, hard work for my husband. He wore a mask and broke the tiles up as little as possible before sealing them in heavy, construction-grade garbage bags.
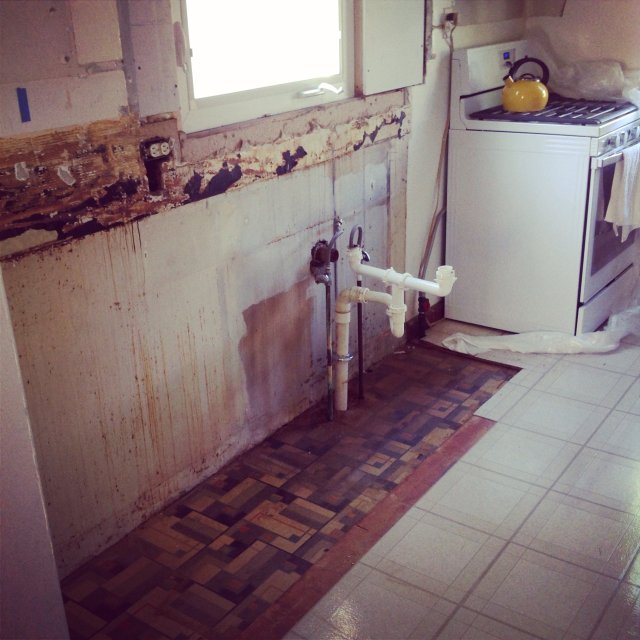
Ugh, those walls. That floor. This was an ugly time. My yellow tea kettle represents hope.
I took the following shot when he found himself in a corner surrounded by at least four different layers of flooring.
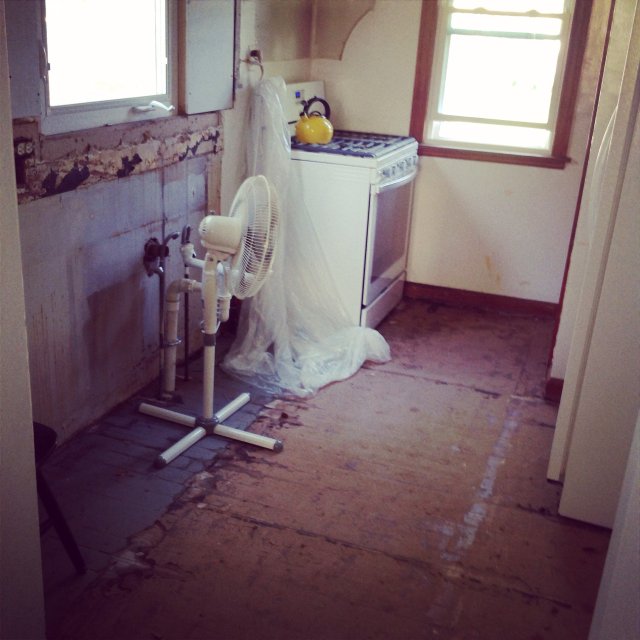
Once the room was totally clear (except for the appliances), we could see the pine base over the floorboards. The wood isn't really appropriate for flooring all on its own (it's very soft and very, very rough after all the flooring being glued and nailed to it.) He vacuumed it thoroughly after removing a million nails and got it really clean.
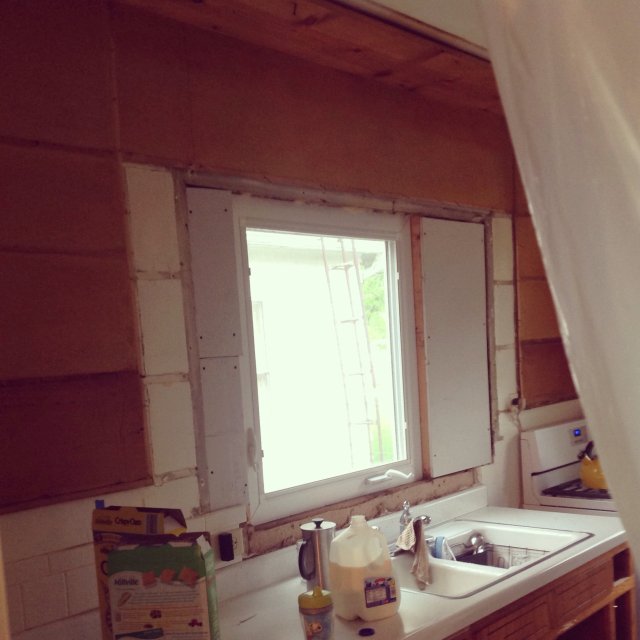
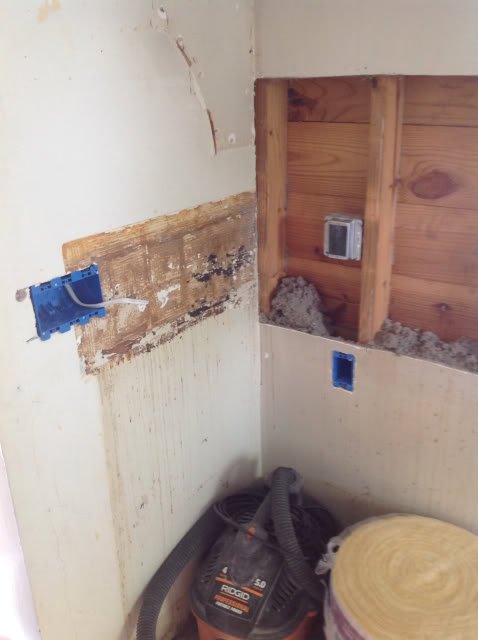
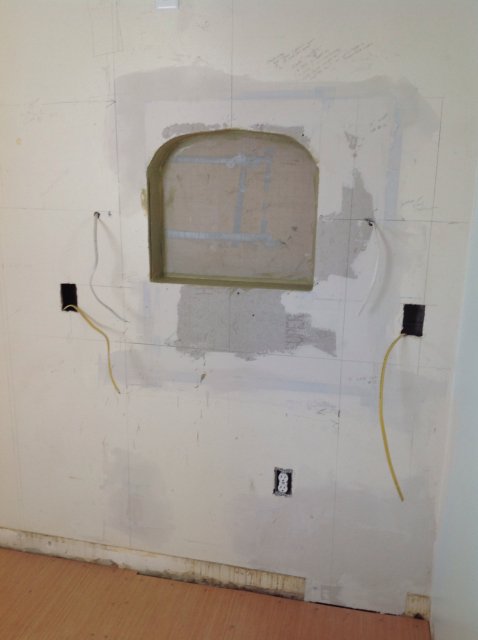
In between getting the floor pulled up and laying the new tiles, our contractor moved in and worked for something like 8 solid days on electrical work, venting a fan for above the range, moving the gas hook-up for our range, moving the heating/cooling to the opposite side of the room, creating a wall niche for above the range, and about a million other crazy things. He was amazing. Here is a vague shot of walls torn apart and lighting boxes going in:
We hired a contractor for the work we just had no clue on how to handle nor any desire to screw up royally, as we surely would have. The electrical work basically represented a complete rewiring of the entire room in a 66-year-old home, plus lots of new stuff, all of which was well and above our skill set or the skill sets of our (talented and tireless) fathers. Rule #1 of renovation: If you can't do it well, hire out to a pro. It's money well spent.
This was the hardest time. If you are even vaguely contemplating a major kitchen renovation, you need to first and foremost ask yourself if you can handle the following things:
- Copious, just RIDICULOUSLY COPIOUS, amounts of dust. Drywall is bad; plaster is worse. We have plaster. It got into my brain. True story.
- Eating hot dogs for 6 weeks. Every night. Or at least it will feel like every night. I don't like hot dogs on my best days, and these were not my best days.
- Washing your dishes in your tub. For weeks. Bonus points if you only have one full bathroom! (That's us. Naturally.)
- Having to make 2 billion tiny-yet-important decisions that you had never even conceived--I mean, they weren't even on your radar, they weren't on ANYONE'S radar--right there on the spot, knowing that you'll have to live with these quick, important decisions for the rest of your natural-born life. (I am going to live out my life and die in this home at a ripe old age and get buried in the backyard, so no, I'm not being dramatic.) Should the lights be centered in the room or along the doorway? At what height do you want your outlets? Do you want to plan way ahead and make sure your tile backsplash lines up perfectly with your outlets? (WHO DOES THAT? I mean, I admire that amount of planning, but seriously.) On and on and on and on. I was amazed at the questions our contractor would throw at me. I looked like a deer in the headlights 95% of the time. He was very patient.
- Did I mention the dust?
These considerations are, of course, already on top of the normal considerations of any renovation, which include going above budget, unexpected problems/substitutions, marital discord, and total exhaustion.
I am so glad we are past this point. It's a first-world thing to complain about, but hey, I live in the first world, and I'm trying to do the best thing for my family and my home. And it was very, very hard.
But! Worth it all for this niche. Just imagine it over our stove and filled with bottles of oil.
But! Worth it all for this niche. Just imagine it over our stove and filled with bottles of oil.
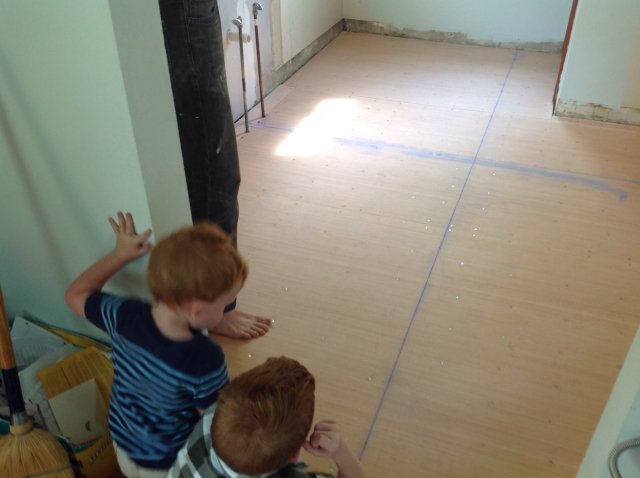
Once our contractor was done with his major work, The Professor and a friend (thank you, Dan!) put in the luan on the floor. This took a few hours of solid work. Here is the luan (it's a thin plywood specifically designed for underlayment) with the beginnings of chalk lines:
The chalk lines got gradually more complicated, as he was preparing to lay VCT flooring on a perfect diagonal. As you may remember from my previous post, my original black-and-white choice was linoleum, but it proved to be prohibitively expensive for us. (I still think linoleum is an awesome option, you guys, and I wish it could have worked.) I stumbled upon Armstrong VCT (Vinyl Composite Tile) flooring and fell in love with its linoleum look-alike charm.
VCT Facts, in case you're intrigued: It's vinyl, yes, so it's not green like linoleum. Sorry. BUT. It's very thick (not at all flimsy like peel-and-stick), and the color goes all the way through, meaning a scratch isn't the end of the world, though it's pretty hardy flooring and can take a beating from, say, a family of six for many years. At our Lowe's you can buy only two different colors off the shelves, even choosing to buy the tiles individually, but if you want any other of the multitude of colors on offer, you have to order them by the box. (This is silly for us. We have an Armstrong plant in town, just down the road from Lowe's.)
At Lowe's the tile was $.89 per square foot, and so I bought some, but then we travelled closer to Chicago to another store (Floor and Decor in the Plainfield area, if you're local) and found a black and a white that I actually liked better (I think they were Classic White and Classic Black) for $.69 a square foot. We needed 96 square feet, so yeah, LOTS cheaper than linoleum, which was going to be more like $8 or $9 a square foot. We could only buy the tiles from Floor and Decor in boxes of 45 square feet, which left us just barely under the necessary amount when we bought one box of each color, so I kept a few of the individual tiles from Lowe's, even though they weren't an exact match. Those slightly off-white pieces went on sections of the floor that were going to be under cabinetry; we like to think of future homeowners redoing the kitchen in 30 years, trying to figure out WHAT IN THE HECK the Cases were thinking doing different-colored tiles. I hope the Internet is still around and they find this blog post.
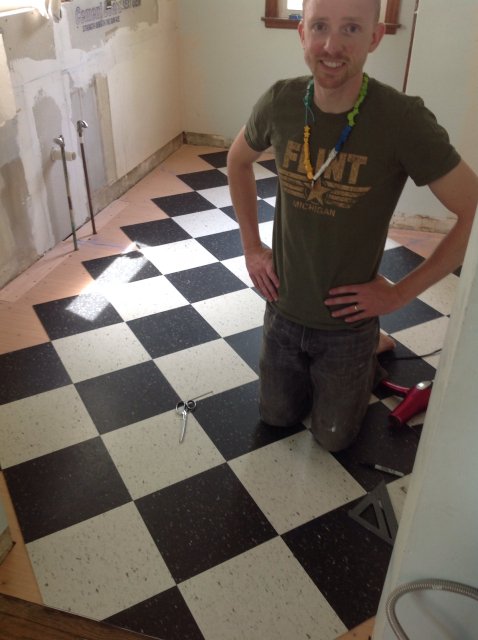
The Professor followed this tutorial to carefully install the tile along a perfect diagonal. He used glue specially made for VCT. He did an amazing job, and to the uninitiated, it really looks like linoleum. It's soft to the touch and feels great under your feet. And that tutorial is pretty great, too. I'd recommend it for a newbie. In general, I'd recommend this flooring.
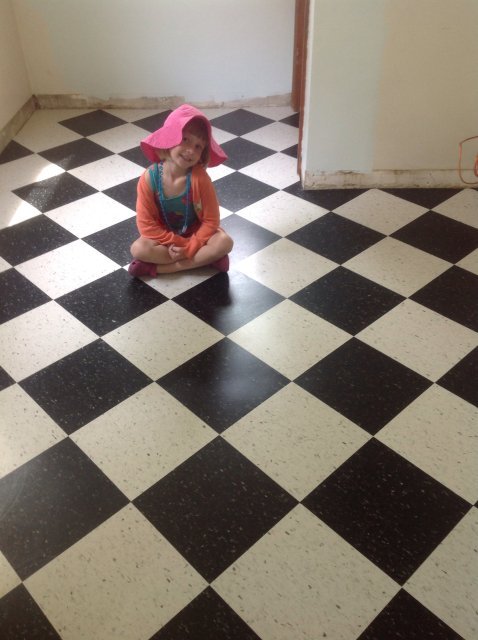
Here he is during a dry-run of the tile. He carefully covered the entire floor exactly as he wanted it, cutting as he went, before removing half of the tile for glue.
King Peter made his necklace.
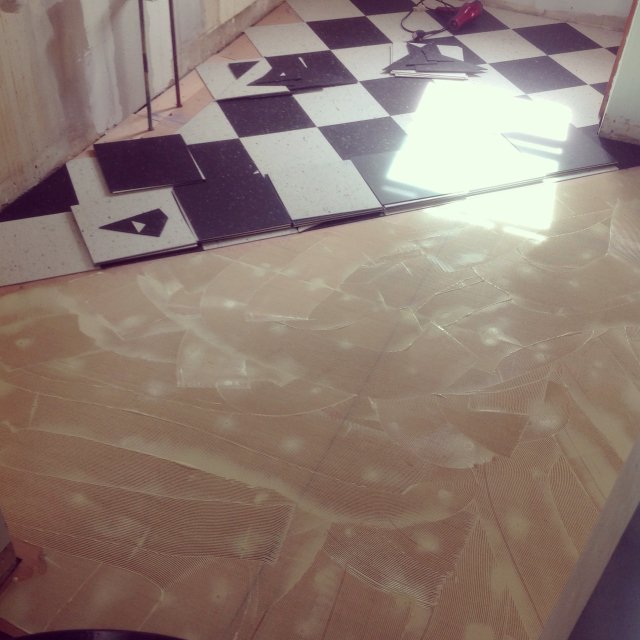
Once half of the room had glue down, he had to wait a couple hours for it to get sufficiently tacky.
Then he laid that half and repeated the process for the other side. It represented an entire day's work; he worked late into the night, and the results were awesome.
If you look really closely at the above shot, you can see what our home's future owners will be stumped about: the slightly off-white single tiles we used to fill in space where we didn't have enough of our chosen color. Cabinets go there, so no worries, future owners. We had a method to our madness.
Once the flooring had had time to settle (a day or so--you could walk on it after just a few hours), we cleaned it really well and sealed it with a liquid sealant the guys at the hardware store had recommended. It's not a true wax, but it helps fill in the teensy cracks and gives the tile a thin protected coat.
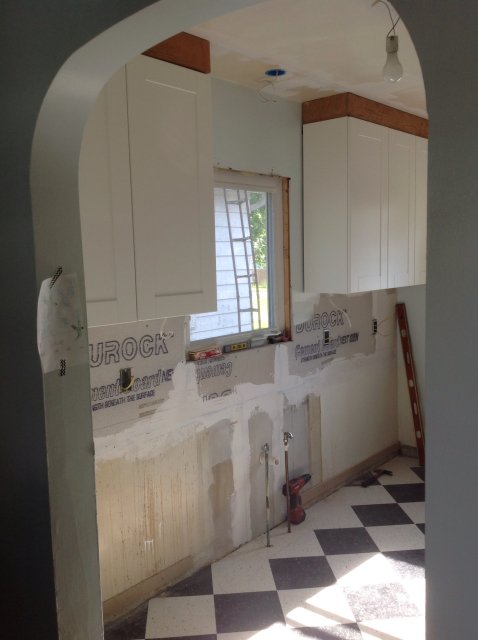
At this point we could think about cabinetry. (FINALLY. It really does have to get really bad before it can actually start looking like a kitchen again.) My father-in-law, who is a professional carpenter who gives us a week of his time each year for home projects (BLESS HIM), came in town and he and The Professor got to work with the cabinetry, sink, plumbing, and all the other big stuff they could get done in a week. But I'll save the details for another post.
I'll just leave you with this little teaser:
It's going to look awesome, you guys. I'm completely impartial.

1 comment:
Yeah! I am so excited for you! It seriously looks amazing so far. :) Can't wait to see the finished product. Also, mad props to you for going through all this….and with 4 kids! :)
Post a Comment